
Basic Design for Home Rainwater Harvesting
Why harvest rainwater?
These reasons motivate and inform the design process:
Free water
Rainwater is beneficial for plants
Reduce strain on sewer and drainage systems
Prevent runoff to the ocean
Manage flooding on your property
Storable, on-demand irrigation source
You’re Going to Need a Bigger Tank
This is the formula for calculating how much rainwater is produced by a roof of Y square feet after X inches of rain.
X inches of rain * Y ft2 * 0.623 = Z gallons of rainwater
For a rough rule of thumb, we often use:
1 in. rain * 1000 ft2 * = approx. 600 gallons
Or even better, use our rainwater calculator:
Map Developers is a great tool for estimating the surface area of a roof.
Other factors include your roof runoff coefficient, which depends on the material the roof is made of, and spill-over from gutters. If you’d like to get into the nitty gritty, check out the fourth book on this list.
Considering the average roof is well over 1000 sq ft, storage capacity is critical. You’re gonna need a bigger tank!
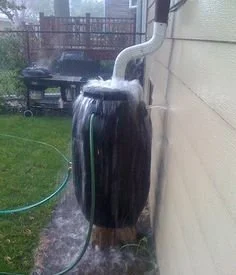
Runoff can easily overwhelm undersized tanks.
Basic Elements of a Home Rainwater System
Roof(s)
Gutters (we do not install gutters – but can recommend a specialist)
Leaf eaters (pre-filtration). Screens that remove large debris from rainwater before it enters the conveyance pipe.
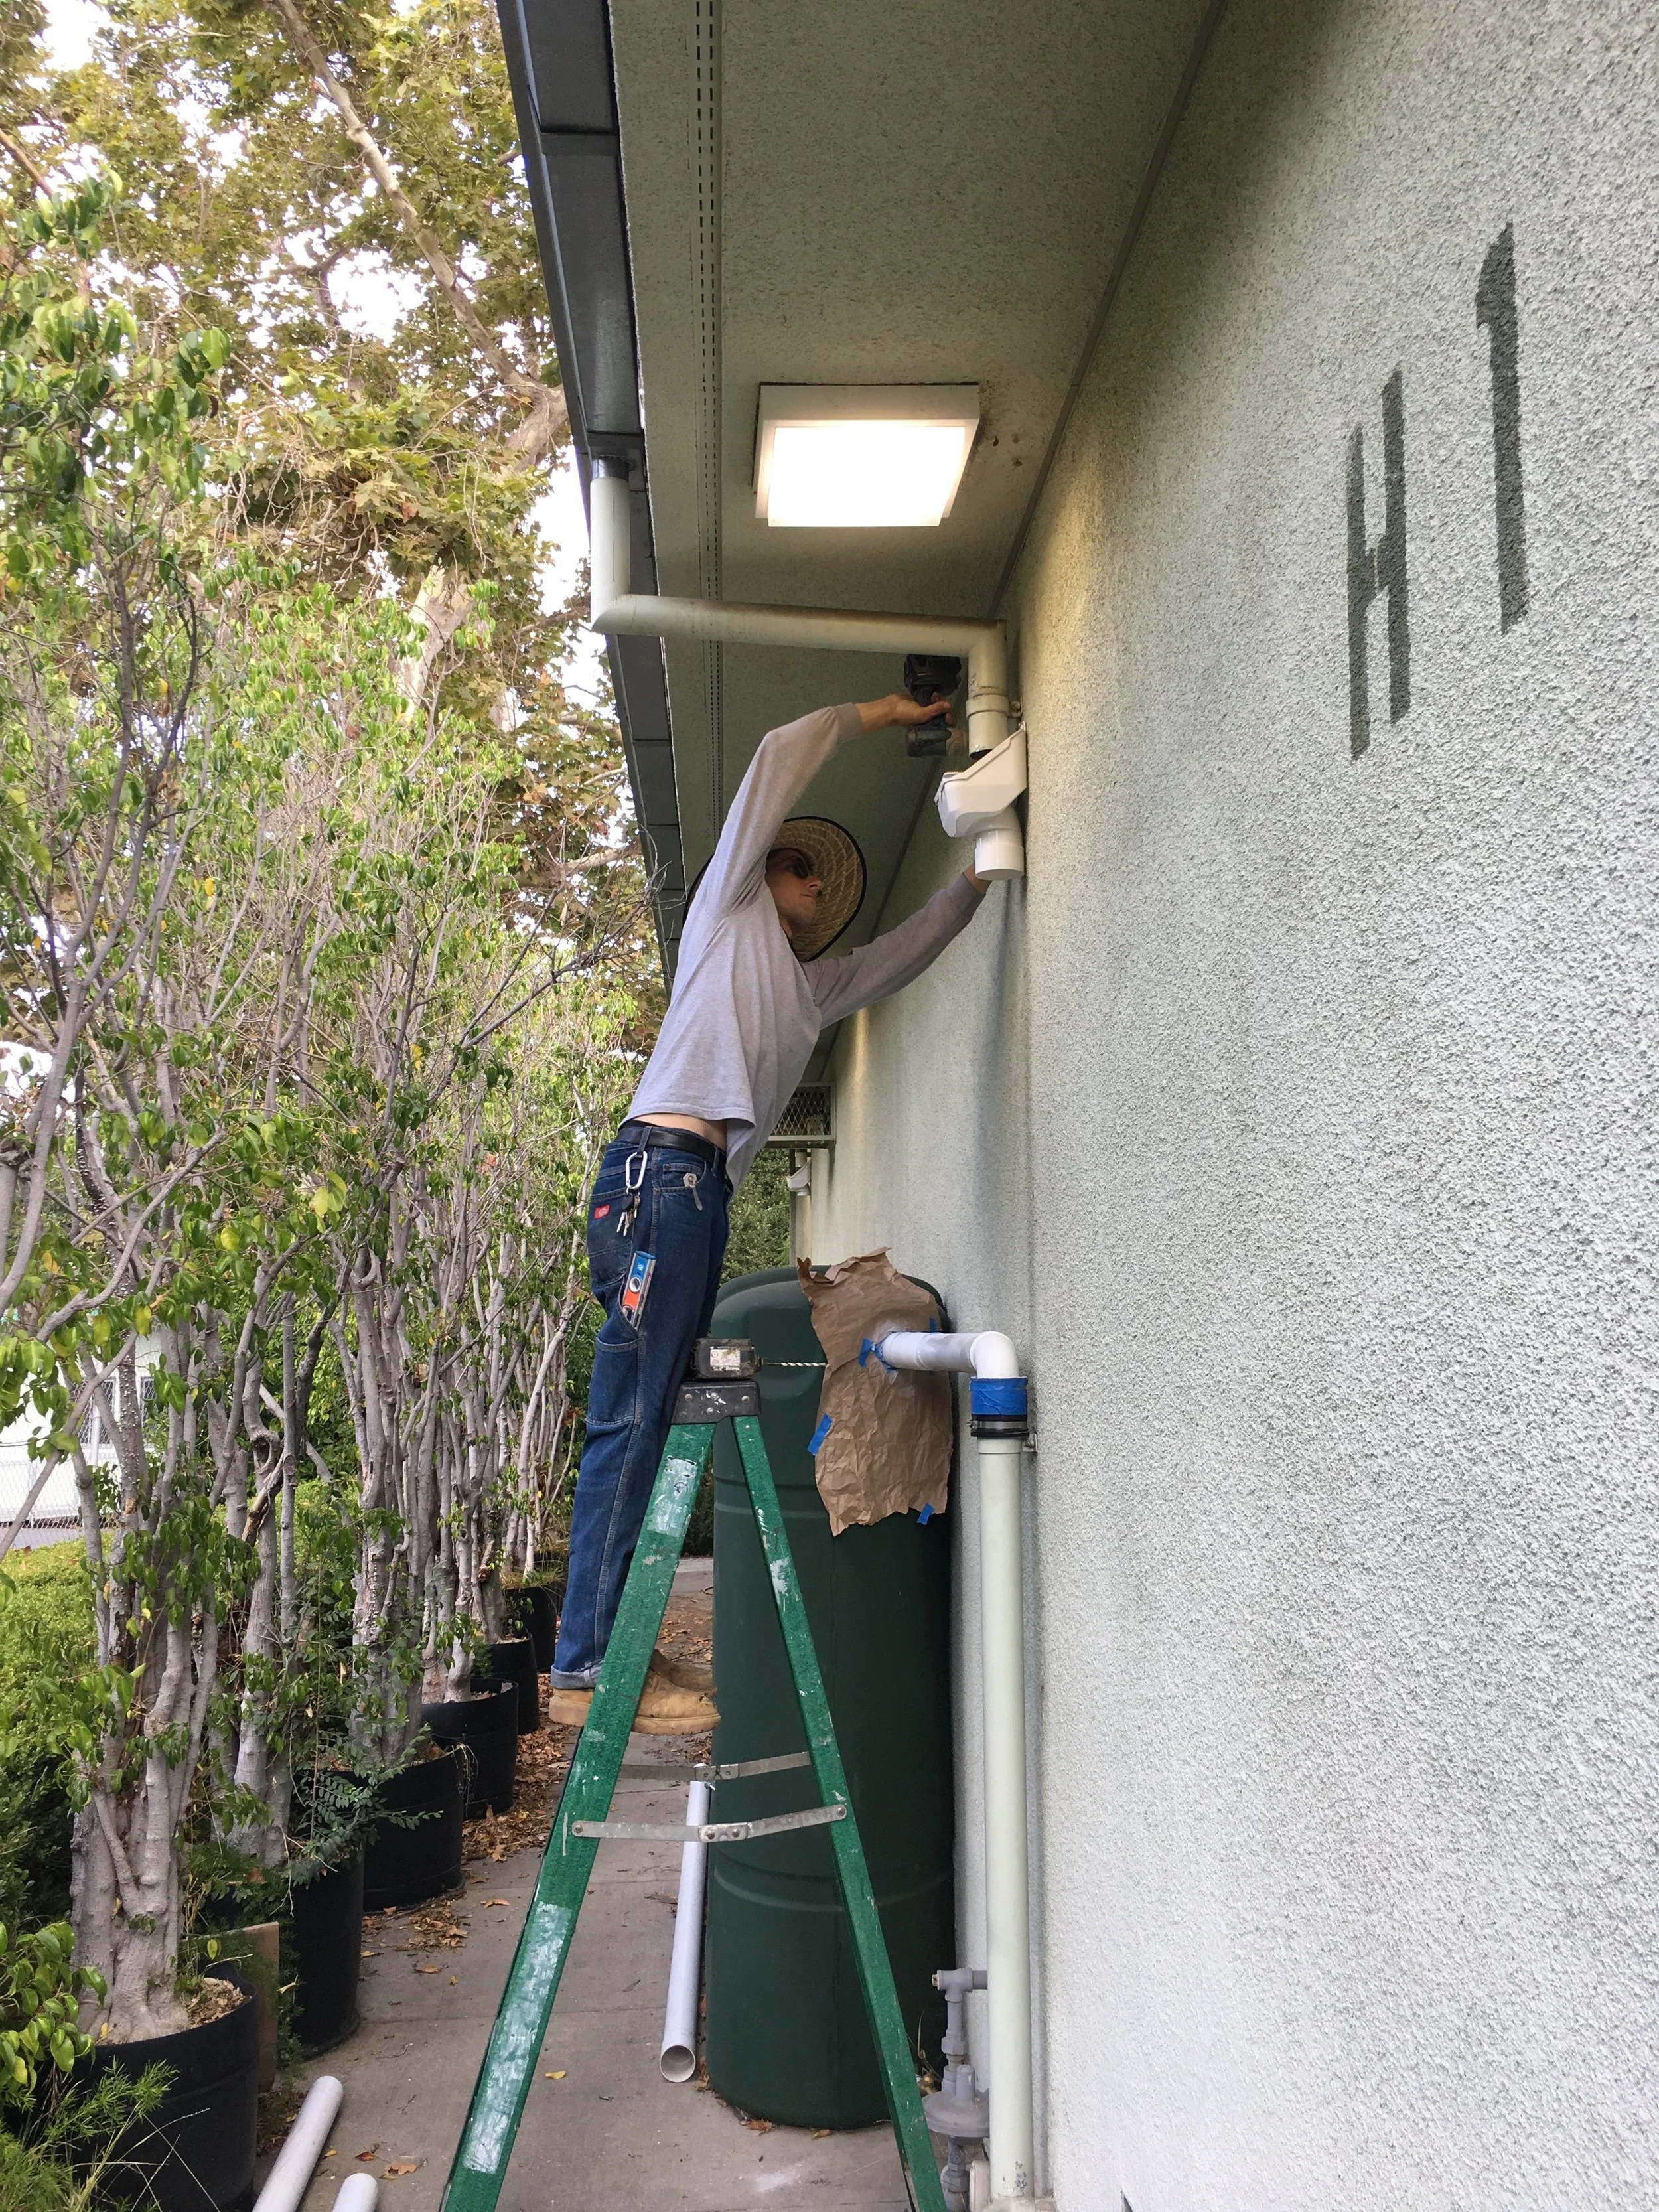
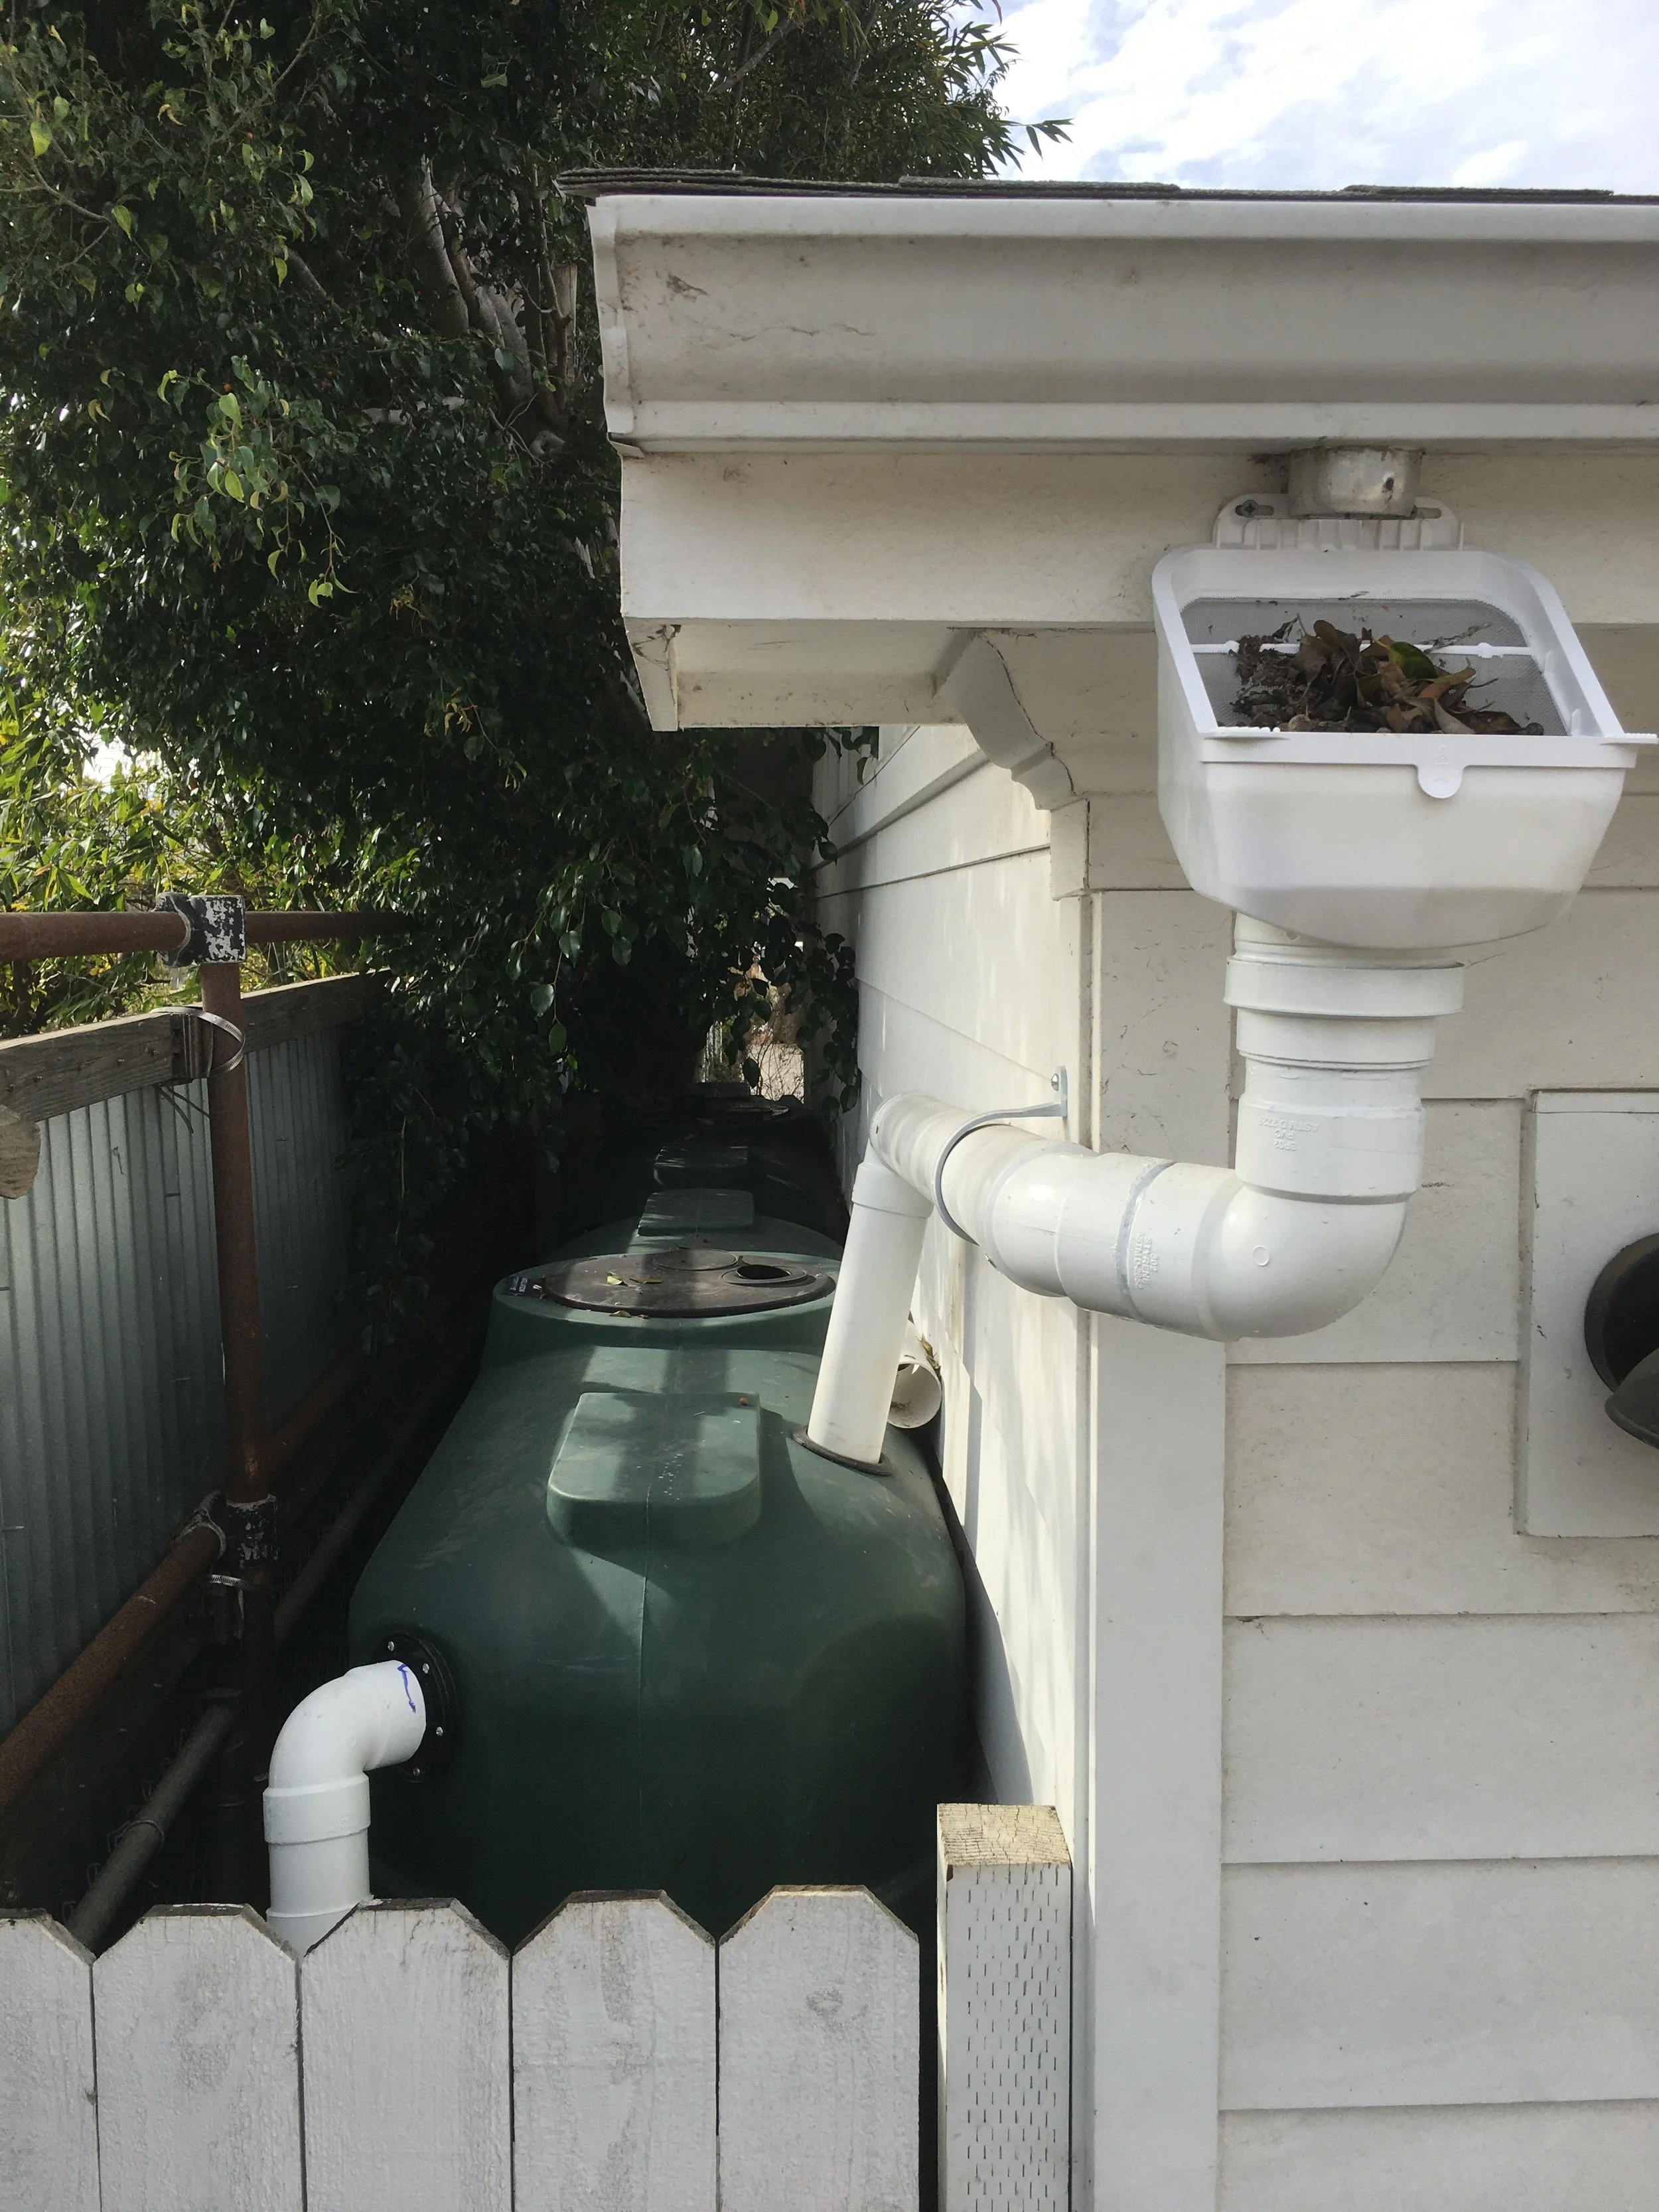

“Leaf eater” pre-filtration screen
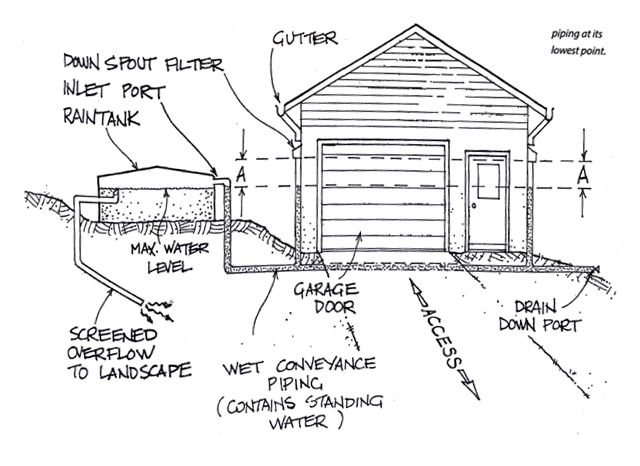
Conveyance (dry or wet pipe). Wet pipe is run under or on the ground and is always filled with water, entering the tank through a point lower than the entry point

Essential Rainwater Harvesting: A Guide to Home-Scale System Design, Michelle Avis and Rob Avis
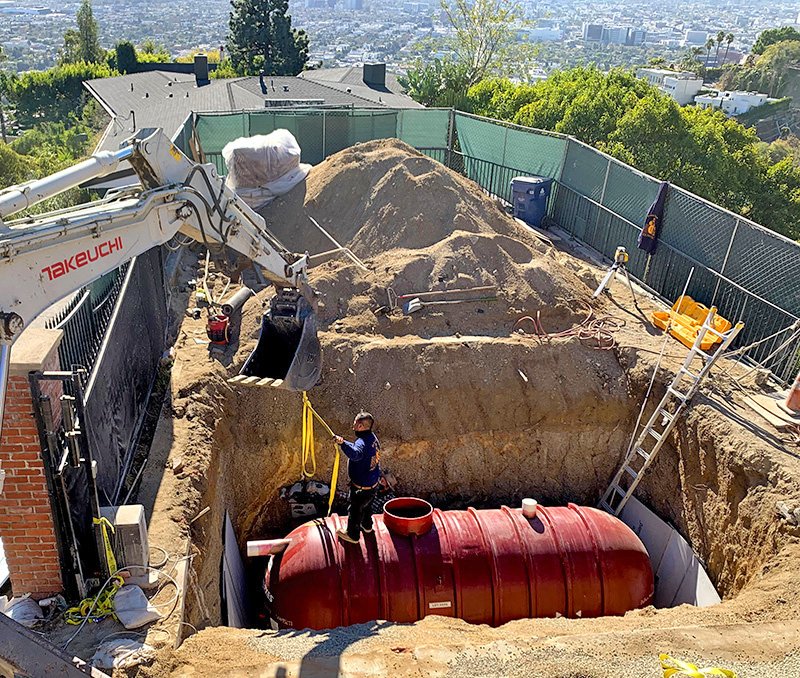
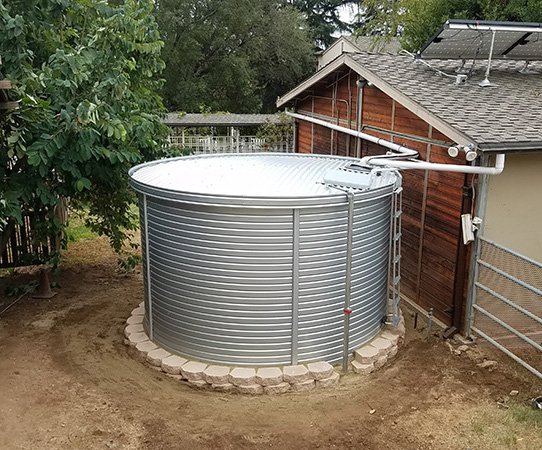
Tank and foundation. Storage capacity is key for an effective rainwater system, and a level, compact foundation is essential to it’s correct operation.
Hose bib. Elevated from the plants you want to irrigate if the hose is going to be fed by gravity.
Optional elements:
Pump
Irrigation system
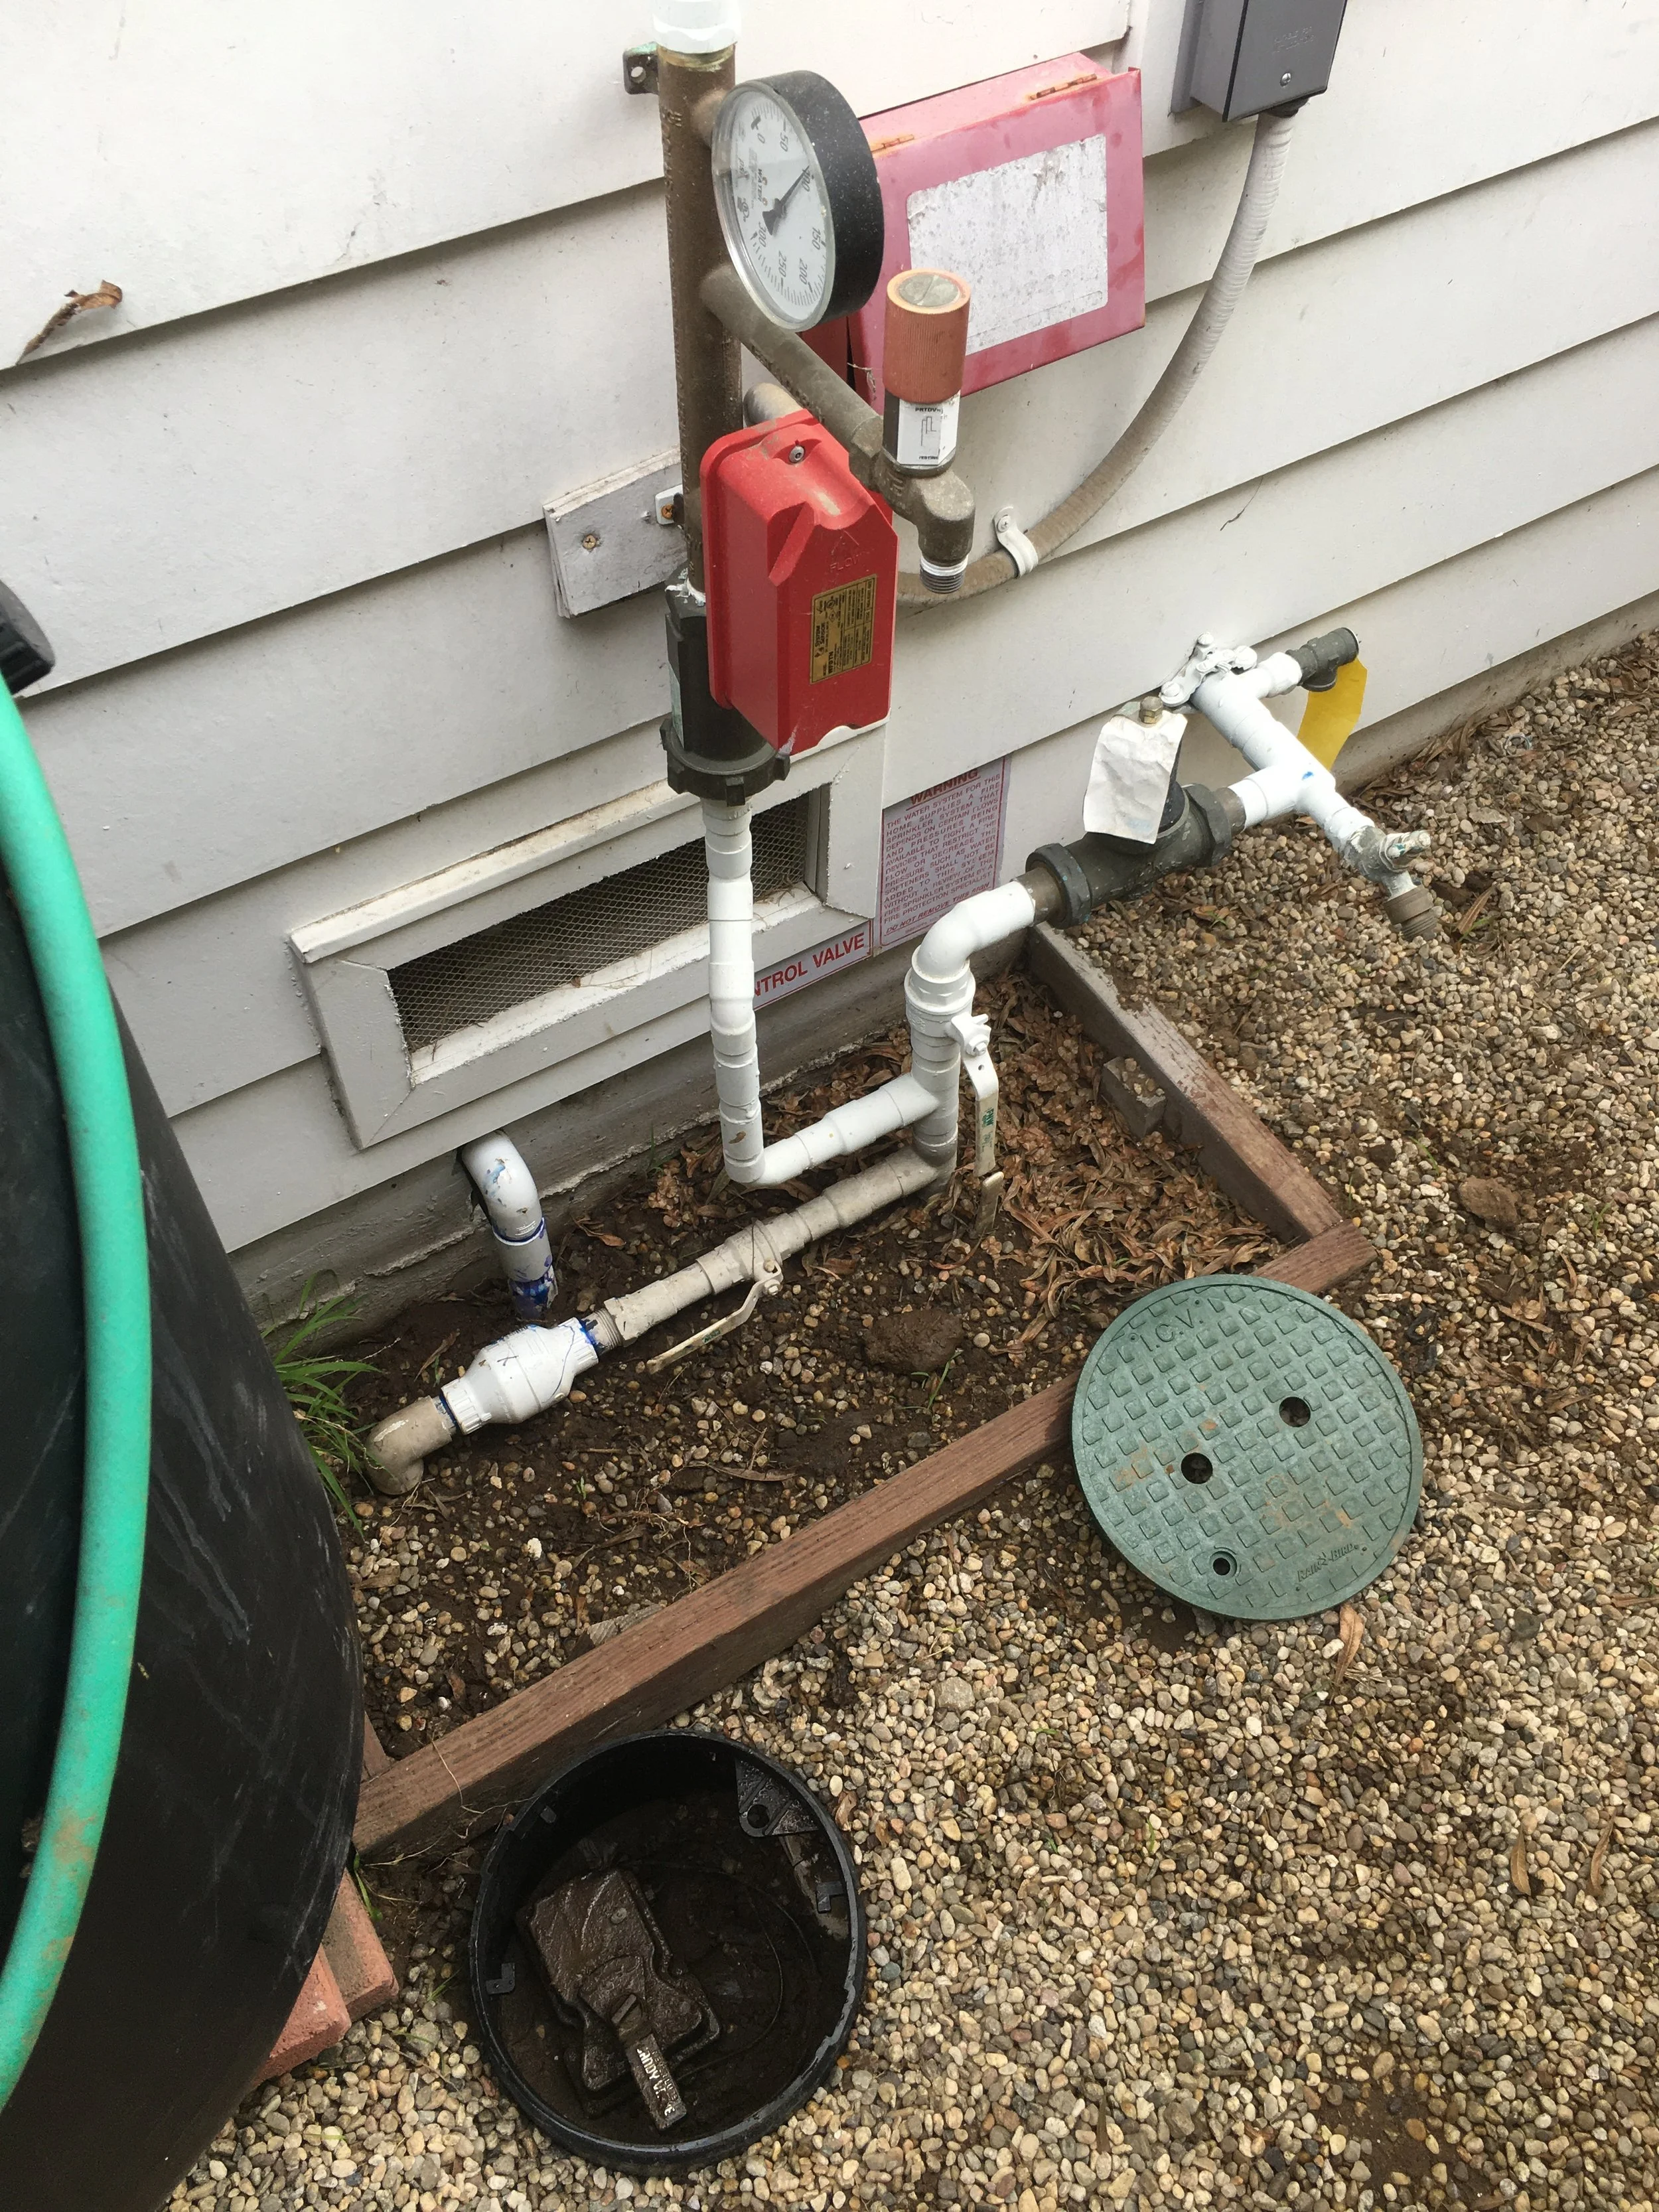
Filter:
Sediment filter (for drip line)
UV sterilization (for spray)

Sediment and UV filter
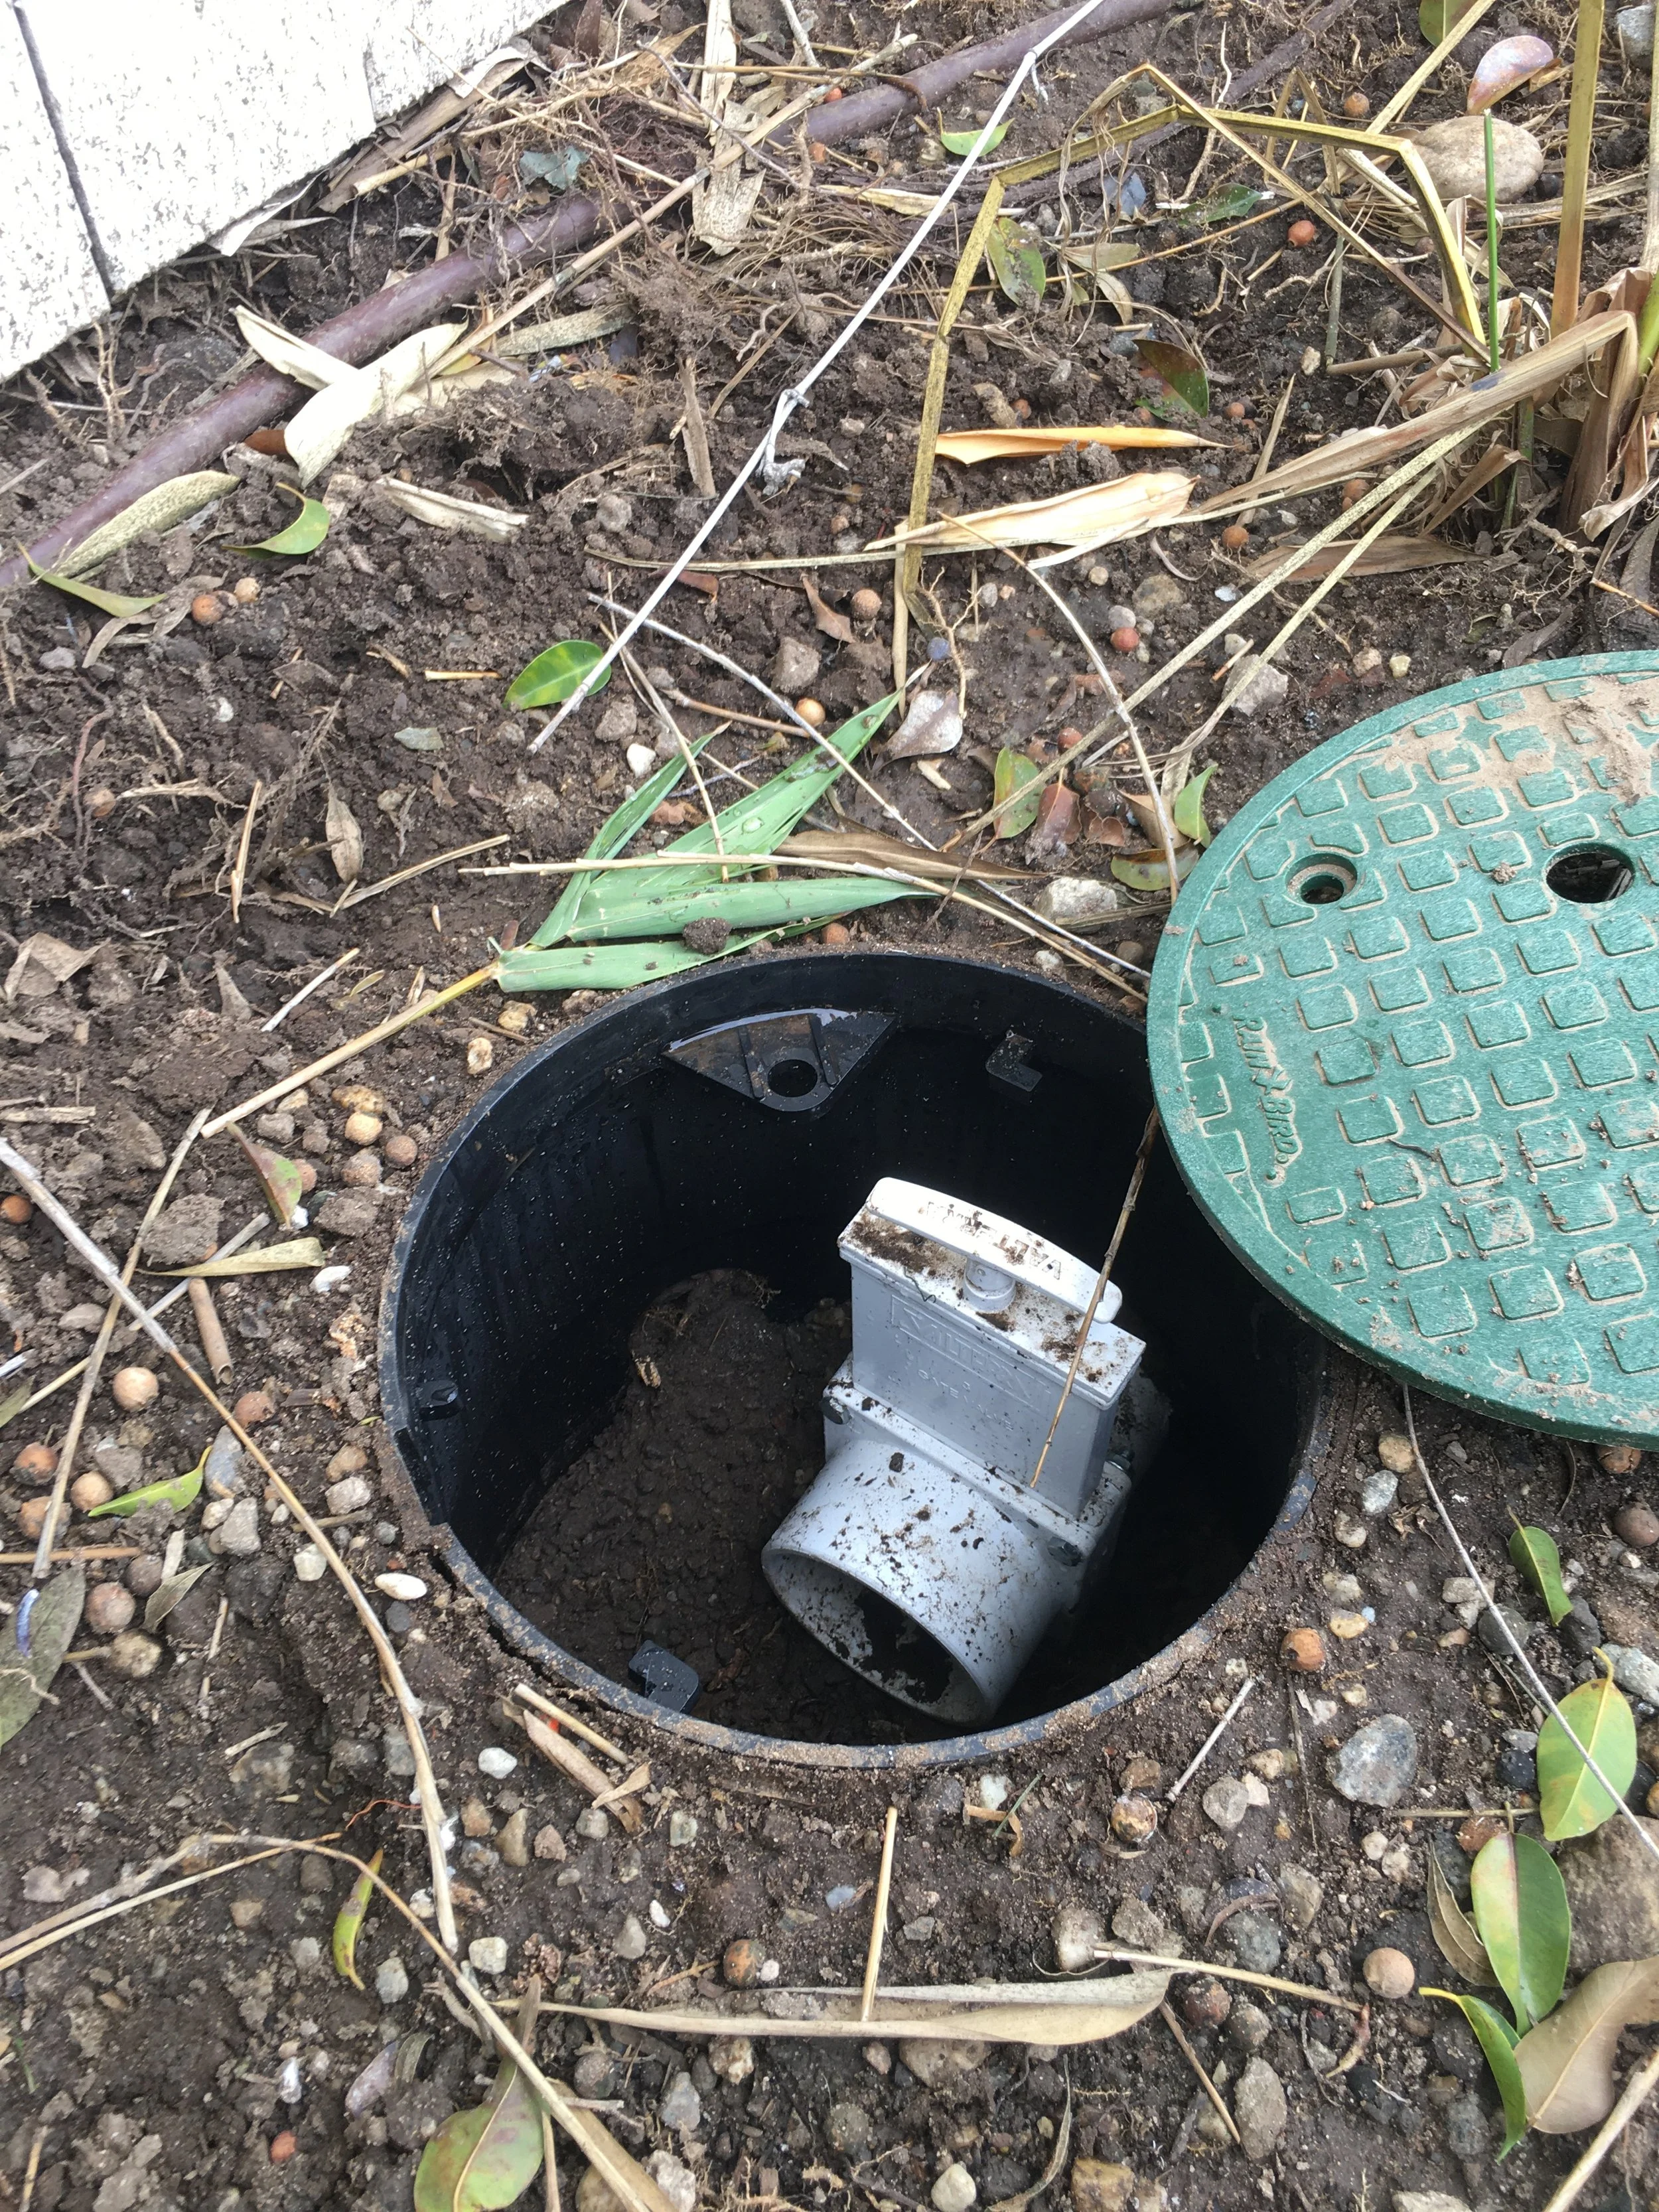
Cleanout valve
Irrigation connection point
Using Your Rainwater
Once you’ve harvested the rainwater, how do you put it to use? One of rainwater’s main assets is that it offers great flexibility in this regard. Options include:
Gravity fed hose
Pumped hose
Pump to filter to hose
Pump to filter to irrigation system
Drip line is ideal with filtration
Spray possible with filtration and sterilization
⚠️DO NOT SPRAY⚠️
Rainwater may contain sediment from roofs, it must be filtered and sterilized for spray applications. For example, do not put your thumb on the end of the hose and spray it in the air, as someone could breathe in the aerosolized particles.
Overflow
The overflow of your rainwater system discharges large amounts of water because it diverts a number of downspouts from your gutters to one location. It’s important to consider where the overflow is going, and how that might affect your property as if there were no tank to catch the water. Always try to set it away from structures, slopes, crawlspaces, basements and neighbors. Try to keep the water on site but send it to the street if it’s going to cause issues.
And remember, always keep your overflow screened to avoid mosquitos! (it’s also required by code)
Essential Rainwater Harvesting: A Guide to Home-Scale System Design, Michelle Avis and Rob Avis